How to fix candle tunneling and enjoy every last bit of wax
Tired of wasted wax and uneven burns? Learn how to prevent and fix candle tunneling for a cleaner, longer burn.
The first time I burned a hand-poured candle, I thought it would last for weeks. Three evenings in, there was a deep hole in the center and a rim of wasted wax hugging the glass. That’s tunneling, and it’s one of the most common candle mistakes. The good news: you can prevent it and even fix it if it happens.
Why tunneling happens
Tunneling is what happens when a candle burns down the middle, leaving wax stuck to the sides. It's usually caused by short burn times. When you light a new candle and blow it out after half an hour, the wax melts only near the wick. The next time you light it, the melted area is smaller. It keeps shrinking until all that’s left is a narrow tunnel, and the wick gets starved of air and drowns.
Setting the first burn
The first burn is the most important. The wax memory is real, candle wax tends to only melt as far as it did on that first go. Plan for a longer session the first time you burn a new candle. Let it burn until the melted wax pool reaches all the way to the edge of the container. Depending on the size and type of wax, this can take two to four hours. If the surface is just starting to melt and you put it out, you’ve set yourself up for tunneling later.
I always set a timer the first time I light a new candle. If I can't commit to a few hours, I wait for another evening. It’s worth it. I’ve learned not to rush this step, even with small travel tins.
Fixing a tunneled candle
If you already see a tunnel, don’t toss the candle. There are a few fixes that actually work. Here are methods I’ve tried myself:
- Foil wrap: Tear a strip of aluminum foil and wrap it around the top rim of the candle, leaving an opening above the wick. Light the candle and let it burn for a couple of hours. The foil traps heat, helping the outer wax melt and level out the surface. Just keep an eye on it and never leave it unattended.
- Hairdryer or heat gun: For a quick fix, use a hairdryer on high heat to melt the top layer of wax and even out the surface. Hold the candle steady and direct the air in a circle above the wax until it smooths out. Avoid blowing hot wax toward the wick, go slow, and always let the candle cool fully before moving it.
- Spoon and patience: If the wick is too short to relight, scoop out some wax around the wick to expose it. Relight and let it burn long enough to melt the rest to the edge. This works best if the tunnel is shallow.
I've found the foil wrap method to be the most reliable, though it does look a bit odd on the kitchen counter. Still, it saves the candle.
Everyday habits to avoid tunneling
Even after the first burn, it helps to keep a few habits:
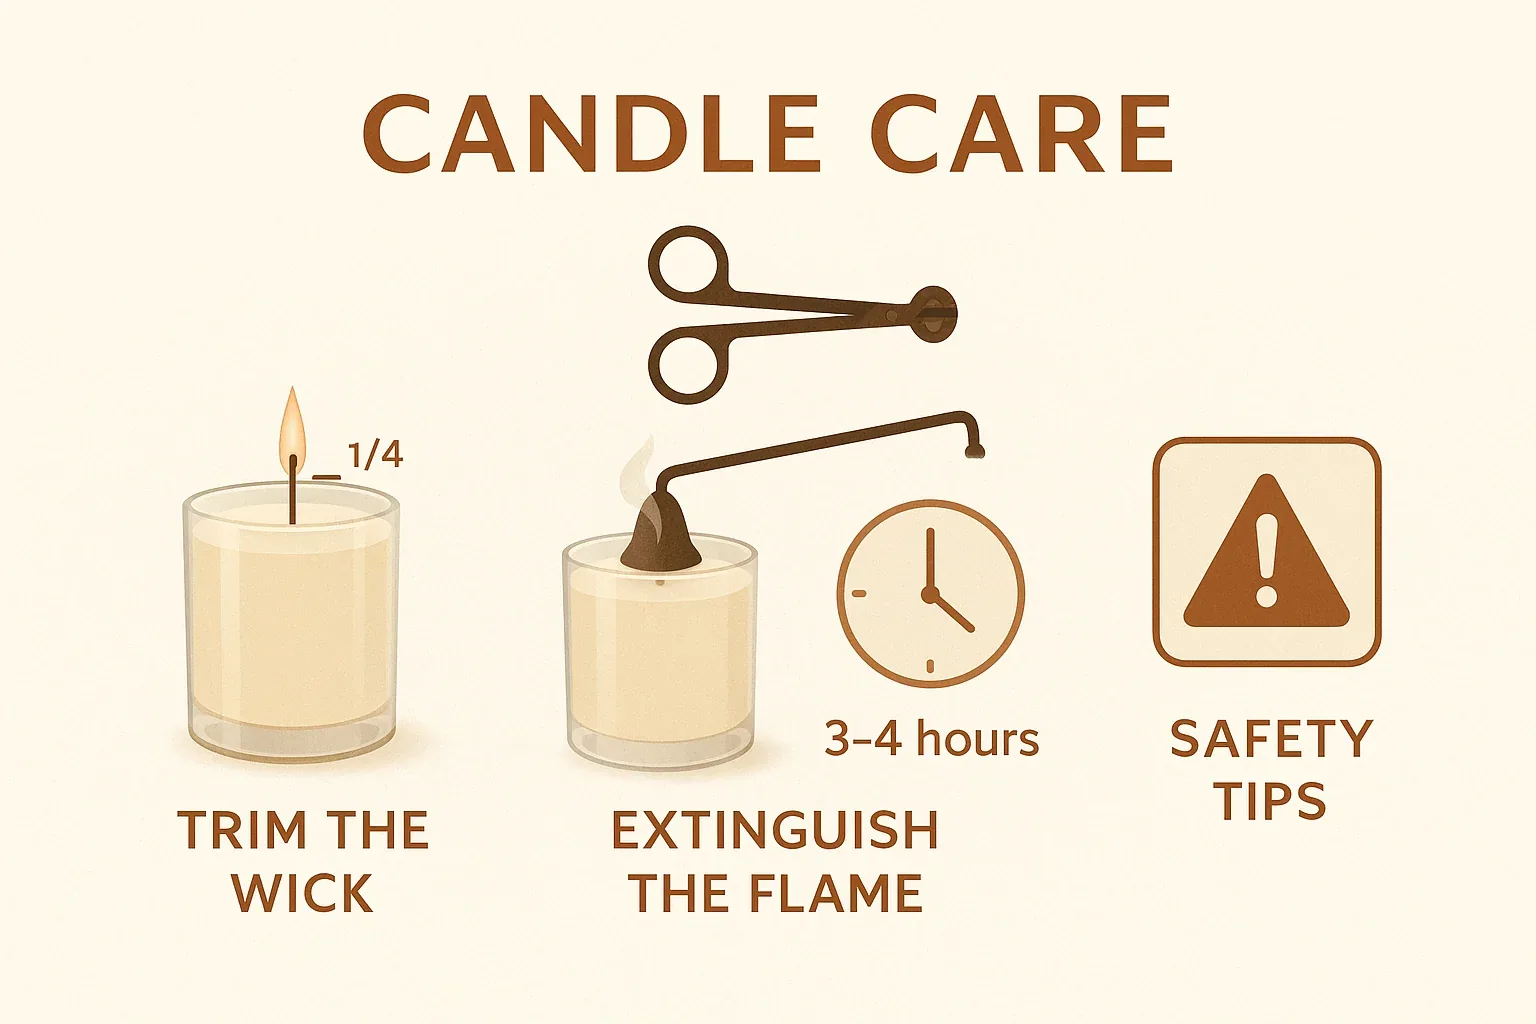
- Always trim the wick to about 1/4 inch before lighting. Long wicks burn too hot and fast, short wicks can drown in wax.
- Burn candles long enough for the whole top layer to melt each time, especially in colder rooms.
- Avoid drafts. Air blowing across the candle can make it burn unevenly, leading to tunneling on one side.
- If you have to put out the candle early, try not to do it two sessions in a row. Give it a long burn next time to correct the melt pool.
Hand-poured candles, especially those made with natural waxes, are more prone to tunneling if you rush the burn. I used to think it was a flaw in the candle, but most of the time, it’s just impatience.
Getting every bit from your candle
If you reach the end of the wick and there's still wax left, try a candle warmer. These devices warm the whole jar from below, letting you enjoy the last bit of fragrance without lighting a flame. I started using one after a few stubby wicks left me with half an inch of perfectly good wax. The scent is gentler but still noticeable on a quiet evening.
When all else fails, scoop out the leftover wax and use it in a wax melter. Nothing wasted, and the scent lingers for a few more nights. The trick to avoiding tunneling is patience at the start, and a bit of resourcefulness at the end.